Loading club corridor…
Transfer corridor
Saved on this device — no account needed
Certainty axis
Distance from the crest shows how close each deal is — read across, not down.Distance from the crest shows how close each deal is — tap a tab, then read the tick.





FC Midtjylland
ManagerOfficial
Mike Tullberg
· Contract to 2029
closer to joining

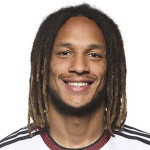
Hyun-seok Hong
Attacking Midfield.
OfficialFSV Mainz 05 → FC Midtjylland
FC MidtjyllandT2Loan
closer to joining
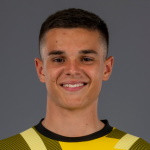
Kjell Wätjen
Central Midfield.
OfficialBorussia Dortmund → FC Midtjylland
FC MidtjyllandT2
closer to joining


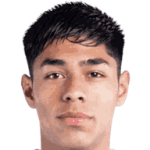
Felipe Chávez
Central Midfield.
FC Bayern München
FC MidtjyllandT3Loan
Fits the 4-4-2 — natural central midfielder
Recent activity
- LinkedFelipe Chávez first linked from FC Bayern MünchenSep 25
- OutgoingFranculino first linked away to TrabzonsporSep 3
- LinkedHyun-seok Hong first linked from FSV Mainz 05Sep 2
- ConfirmedDarío Osorio move completed (Sportmonks-verified)Sep 2
- OutgoingDarío Osorio first linked away to Crystal PalaceSep 1
- OutgoingKevin Mbabu first linked away to SampdoriaSep 1