Loading club corridor…
Transfer corridor
Saved on this device — no account needed
Certainty axis
Distance from the crest shows how close each deal is — read across, not down.Distance from the crest shows how close each deal is — tap a tab, then read the tick.
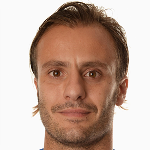


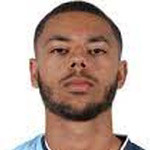









Parma
ManagerOfficial
Alberto Gilardino
· Contract to 2027
closer to joining

Vincent Sierro
Central Midfield.
OfficialUnknown club → Parma
ParmaT2
closer to joining

Diego Carlos
Centre Back.
OfficialFenerbahçe → Parma
ParmaT2
closer to joining

Giovanni Fabbian
Attacking Midfield.
OfficialFiorentina → Parma
ParmaT2
closer to joining

David Romero
Centre Forward.
OfficialTigre → Parma
ParmaT2
closer to joining
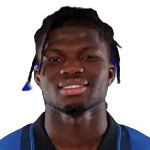
El Bilal Touré
Left Wing.
OfficialAtalanta → Parma
ParmaT2Loan
Recent activity
- OutgoingLautaro Valenti first linked away to FC BarcelonaSep 30
- LinkedVincent Sierro first linkedSep 5
- ConfirmedDiego Carlos move completed (Sportmonks-verified)Sep 2
- ConfirmedOliver Sørensen move completed (Sportmonks-verified)Sep 1
- OutgoingOliver Sørensen first linked away to CelticAug 31
- LinkedDiego Carlos first linked from FenerbahçeAug 30
- LinkedGiovanni Fabbian first linked from FiorentinaAug 29
- OutgoingAntoine Joujou first linked away to NantesAug 19