Loading club corridor…
Transfer corridor
Saved on this device — no account needed
Certainty axis
Distance from the crest shows how close each deal is — read across, not down.Distance from the crest shows how close each deal is — tap a tab, then read the tick.




Galatasaray
ManagerOfficial
Okan Buruk
· Contract to 2026
closer to joining
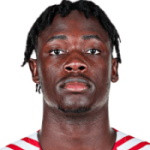
El Chadaille Bitshiabu
Centre Back.
OfficialRB Leipzig → Galatasaray
GalatasarayT2
closer to joining

Rafael Leão
Left Wing.
OfficialMilan → Galatasaray
GalatasarayT2
closer to joining
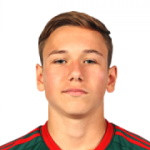
Aleksey Batrakov
Attacking Midfield.
OfficialLokomotiv Moskva → Galatasaray
GalatasarayT2
closer to joining

Deniz Gül
Centre Forward.
OfficialPorto → Galatasaray
GalatasarayT2
closer to joining
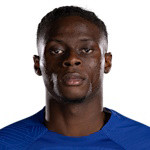
Lesley Ugochukwu
Defensive Midfield.
OfficialBurnley → Galatasaray
GalatasarayT3Loan
closer to joining
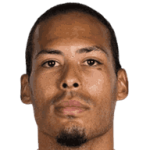

Virgil van Dijk
Centre Back.
Liverpool
GalatasarayT4
Fits the 4-2-3-1 — natural centre-back
Recent activity
- OutgoingVictor Osimhen first linked away to NapoliOct 6
- OutgoingMauro Icardi first linked away to Tottenham HotspurSep 16
- ConfirmedEl Chadaille Bitshiabu move completed (Sportmonks-verified)Sep 2
- LinkedEl Chadaille Bitshiabu first linked from RB LeipzigSep 2
- ConfirmedRafael Leão move completed (Sportmonks-verified)Aug 27
- OutgoingElias Jelert first linked away to Le HavreAug 21
- ConfirmedAleksey Batrakov move completed (Sportmonks-verified)Aug 21
- LinkedAleksey Batrakov first linked from Lokomotiv MoskvaAug 18